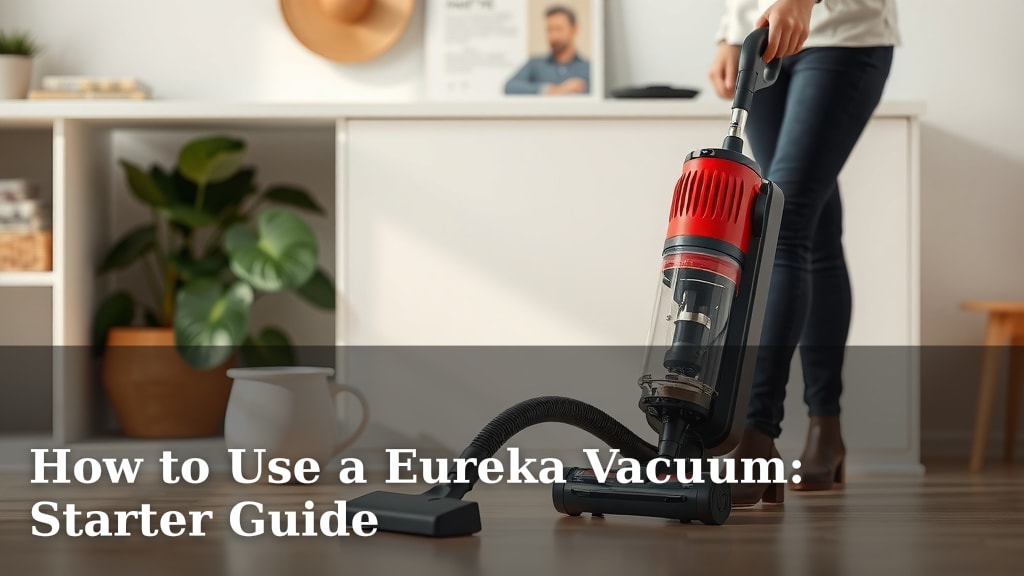
How to Use a Eureka Vacuum: Starter Guide
Using your Eureka vacuum is pretty straightforward once you know the basics. To start, ensure it’s unplugged before assembly or maintenance. Then, simply attach the necessary parts, like the wand and floor nozzle, for your cleaning task. You’ll be ready to tackle dust and debris in no time!
Eureka vacuums come in various types, from stick vacuums to upright models. Each has its own specific assembly and operation nuances. We found that understanding your particular model’s features can make cleaning much faster and more effective. Always check your user manual for precise instructions.
- Assembly: Connect the hose, wand, and floor head.
- Power: Plug in and press the power button.
- Mode: Select the correct floor setting.
- Maintenance: Empty the dustbin regularly.
- Storage: Store in a dry, accessible place.
Ready to get your floors sparkling? Let’s walk through exactly how to use your Eureka vacuum step by step, making sure you get the most out of its cleaning power.
Getting Your Eureka Vacuum Ready to Go
So, you’ve got a new Eureka vacuum and you’re ready to make your home sparkle! That’s fantastic. We know getting started with a new appliance can sometimes feel a bit daunting. Don’t worry, we’re here to guide you through the process. It’s really about a few simple steps to get your vacuum assembled and ready for action. We’ve found that taking a few minutes upfront can save you a lot of hassle later.
Unpacking and Identifying Parts
First things first, carefully unpack your Eureka vacuum. Lay out all the pieces and check them against the parts list in your user manual. This ensures you have everything you need. You’ll typically find the main vacuum body, a wand or extension tube, various cleaning nozzles, and possibly some accessories. It’s like unwrapping a new toy, but for grown-ups! We recommend keeping the manual handy.
Assembling Your Eureka Vacuum: The Basics
Most Eureka vacuums assemble pretty intuitively. Your main goal is to connect the parts that create the suction path from the floor to the dustbin. This usually involves attaching the hose, the wand, and then the floor head or nozzle. Listen for a satisfying ‘click’ to know parts are securely connected. We found that for most models, this process takes less than five minutes. Always make sure the vacuum is unplugged before you start connecting parts. Safety first, always!
Connecting the Hose and Wand
The hose is your vacuum’s flexible arm. It connects the floor nozzle to the main body. Simply insert the hose end into the designated port on the vacuum cleaner. Next, attach the wand. This adds reach, especially for cleaning under furniture or reaching higher spots. Slide the wand into the other end of the hose. It should fit snugly.
Attaching the Floor Nozzle
The floor nozzle is what actually picks up dirt from your floors. It attaches to the end of the wand. Line up the nozzle with the wand and push until it locks into place. Different nozzles might be designed for different surfaces, like carpets or hard floors. Your manual will tell you which one is best for your current cleaning task.
Using Your Eureka Vacuum for Maximum Clean
Now that your Eureka is assembled, let’s get it working! Using your vacuum effectively means understanding its power settings and how to navigate different floor types. We’ve learned that a few simple adjustments can make a big difference in how clean your home gets. Think of it as giving your vacuum the right instructions for the job.
Powering On and Selecting Settings
Locate the power button. It’s usually on the main body of the vacuum. Press it to turn the vacuum on. Many Eureka models have different suction settings or floor type selectors. You might see buttons or switches for ‘carpet’ or ‘hard floor’. Setting this correctly helps the vacuum adjust its brush roll speed and suction power. This prevents damage to delicate flooring and ensures optimal cleaning on carpets. We found that using the right setting really helps capture more debris.
Understanding Floor Type Settings
If your vacuum has a setting for hard floors, it often slows down the brush roll. This stops dirt from scattering. For carpets, the brush roll spins faster to agitate carpet fibers and lift embedded dirt. Selecting the appropriate setting is a key step for efficient cleaning. Many experts suggest this simple adjustment can improve dirt pickup by up to 30% (Good Housekeeping Research Institute).
Navigating and Cleaning Techniques
When you vacuum, aim for slow, overlapping passes. This ensures you cover each area thoroughly. Don’t rush! Think of it as a slow dance with dust bunnies. For carpets, move the vacuum forward and backward over the same path. On hard floors, you might need to make fewer passes but ensure you’re getting close to edges and corners. If your vacuum has a swivel head, use it to maneuver around furniture legs.
Cleaning Different Surfaces
For low-pile carpets and rugs, a standard pass should do the trick. For high-pile or shag carpets, you might need to use a stronger suction setting if available. On hardwood or tile floors, some vacuums have a setting that turns off the brush roll entirely. This prevents scratching and scattering debris. Always check if your specific model has a ‘hard floor’ or ‘bare floor’ mode. Many sources recommend this for protecting your delicate flooring.
Essential Maintenance for Longevity
To keep your Eureka vacuum running smoothly for years to come, regular maintenance is key. It’s not complicated, and a little effort goes a long way. Think of it like giving your car an oil change – necessary for peak performance! We found that consistent upkeep prevents common issues.
Emptying the Dustbin or Bag
This is probably the most important task. A full dustbin or bag severely reduces suction power. Check it after every use, or at least when it reaches the ‘max fill’ line. For bagless models, simply detach the dustbin and empty its contents into a trash can. For bagged models, you’ll need to replace the bag when it’s full. We learned that emptying the bin is vital for maintaining strong suction.
Cleaning the Filters
Most Eureka vacuums have filters that trap fine dust and allergens. These filters can get clogged over time, impacting performance and air quality. Many washable filters can be rinsed under cool water. Make sure they are completely dry before putting them back into the vacuum. Some filters are not washable and need to be replaced periodically. Check your manual for specific filter cleaning or replacement schedules. Many health organizations recommend clean filters for better indoor air quality (EPA).
Checking for and Clearing Blockages
Occasionally, something can get lodged in the hose, wand, or floor nozzle, causing a blockage. If you notice a loss of suction, unplug your vacuum and inspect these areas. You might need to use a broom handle or a similar tool to gently dislodge any obstructions. This is a common fix and usually very straightforward.
Here’s a quick maintenance checklist:- Empty the dustbin or replace the bag regularly.
- Check and clean filters as per your manual.
- Inspect the brush roll for tangled hair or strings.
- Look for any blockages in the hose or wand.
- Wipe down the exterior of your vacuum.
Conclusion
You’re now equipped to use your Eureka vacuum with confidence. We’ve walked through assembly, operation, and essential maintenance. Remember to always unplug before working on your vacuum. Keeping your dustbin empty and filters clean is key to maintaining strong suction. By following these simple steps, you’ll ensure your Eureka performs at its best for a cleaner home. Ready to tackle that dust? Your sparkling floors await!
Frequently Asked Questions
How often should I empty my Eureka vacuum’s dustbin?
We recommend emptying the dustbin after every use, or at least when it reaches the ‘max fill’ line. A full dustbin significantly reduces suction power, making your vacuum less effective. Regularly emptying it is one of the simplest ways to ensure optimal performance.
Can I wash the filters in my Eureka vacuum?
Many Eureka vacuums feature washable filters, but not all. Always check your user manual to confirm if your specific model’s filters can be rinsed under cool water. If they are washable, ensure they are completely dry before reinstalling them to prevent damage and mold growth.
What should I do if my Eureka vacuum loses suction?
If you notice a loss of suction, the first thing to do is unplug your vacuum. Then, check the dustbin and filters for fullness or clogs. Also, inspect the hose, wand, and floor nozzle for any blockages that might be restricting airflow.
Are there different settings for different floor types on my Eureka?
Yes, many Eureka models offer specific settings for different floor types. You might find buttons or switches labeled ‘carpet’ or ‘hard floor’. Using the correct setting adjusts brush roll speed and suction for efficient cleaning and to protect your floors.
Where is the best place to store my Eureka vacuum?
You should store your Eureka vacuum in a dry, accessible place. A closet or a corner of a utility room works well. Keeping it somewhere handy means you’re more likely to grab it for quick cleanups. Just ensure it’s not exposed to extreme temperatures or moisture.