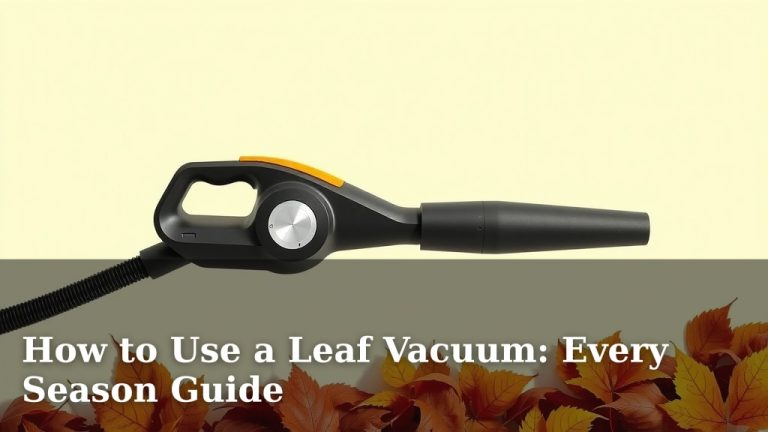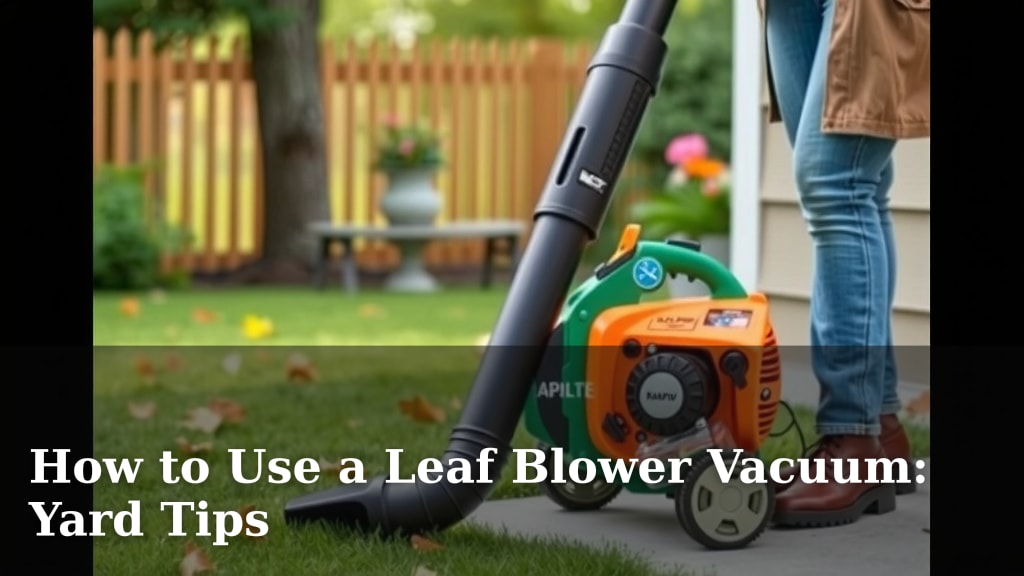
How to Use a Leaf Blower Vacuum: Yard Tips
The easiest way to use a leaf blower vacuum is to understand its two main functions: blowing leaves away and vacuuming them up. You can switch between these modes easily. This tool makes yard cleanup much faster and more efficient.
Leaf blower vacuums are amazing for tidying up your lawn. They can handle everything from light dust to wet, matted leaves. Many models offer mulching capabilities, too. This means they shred leaves into a fine material for your compost pile or garden beds.
- Switch between blower and vacuum modes easily.
- Blow leaves into piles for collection.
- Vacuum leaves into the attached bag for disposal.
- Many models mulch leaves for composting.
- Always wear safety gear for protection.
Let’s walk through exactly how to get the most out of your leaf blower vacuum for a pristine yard. We’ll cover everything you need to know to make yard work a breeze.
Mastering Your Leaf Blower Vacuum for a Tidy Yard
So, you’ve got a leaf blower vacuum and you’re ready to tame that autumn (or spring) chaos. That’s fantastic! This tool is designed to make your yard cleanup much less of a chore. Let’s dive into how you can get the most out of it, transforming your lawn from a leafy mess into a neat space you’ll love.
Getting Started: Your Leaf Blower Vacuum Essentials
Before you even think about firing it up, let’s cover the basics. Your leaf blower vacuum is a versatile machine, but using it safely and effectively is key. Think of it as your yard’s personal assistant – it needs clear instructions and a little prep work to do its best job.
Safety First: Protecting Yourself
This is non-negotiable. We’re dealing with a powerful machine that moves debris at high speeds. Protecting your eyes and ears is paramount. Always wear safety glasses or goggles to shield your eyes from flying bits. Ear protection, like earplugs or earmuffs, is also essential, especially during extended use. We found that many manufacturers recommend hearing protection because prolonged exposure to loud noise can cause permanent damage (CDC).
Don’t forget sturdy footwear. You don’t want to be wearing flip-flops while operating this. Long pants and sturdy gloves also add a layer of protection against scratches and debris. Ensure your clothing is snug and won’t get caught in any moving parts.
Understanding Your Machine’s Modes
As mentioned, these tools typically have two primary functions: blowing and vacuuming. Switching between them is usually straightforward, but it’s good to know how your specific model works. Most have a lever or a simple adjustment to change the mode.
Blower Mode: This is your go-to for gathering leaves. You’ll use the blower tube to direct leaves into manageable piles. It’s great for covering larger areas quickly and pushing leaves away from sensitive plants or delicate garden beds.
Vacuum Mode: When you’re ready to collect, this mode sucks up leaves, twigs, and other light debris. The leaves are typically funneled into a collection bag attached to the machine. This is where the mulching often happens, too.
The Mulching Marvel: Shredding Leaves
Many leaf blower vacuums come with a mulching feature. This is a fantastic bonus for gardeners! When in vacuum mode, the machine often has an impeller or blades that shred the leaves as they’re sucked into the bag. This reduces the volume of leaves considerably.
We found that mulched leaves are excellent for your compost pile or as a natural mulch for garden beds. They break down faster, adding valuable organic matter to your soil. This mulching capability can reduce yard waste significantly, often by a ratio of 10:1 or even more, depending on the machine and leaf type (NC State Extension).
Step-by-Step Guide to Effective Yard Cleanup
Ready to get to work? Let’s break down the process. It’s less about complicated steps and more about a smart approach. We’ll guide you through making this task feel less like a chore and more like a victory.
Step 1: Prepare Your Area and Machine
Clear the immediate area around where you’ll be working. Remove any large rocks, branches, or toys that could be a hazard or damage your machine. Check the collection bag for any tears or holes and ensure it’s securely attached.
Make sure the battery is charged or you have a full tank of gas, depending on your model. Nothing stops momentum faster than a dead battery mid-pile. If using an electric model, ensure the power cord is in good condition and consider an extension cord that’s appropriate for outdoor use.
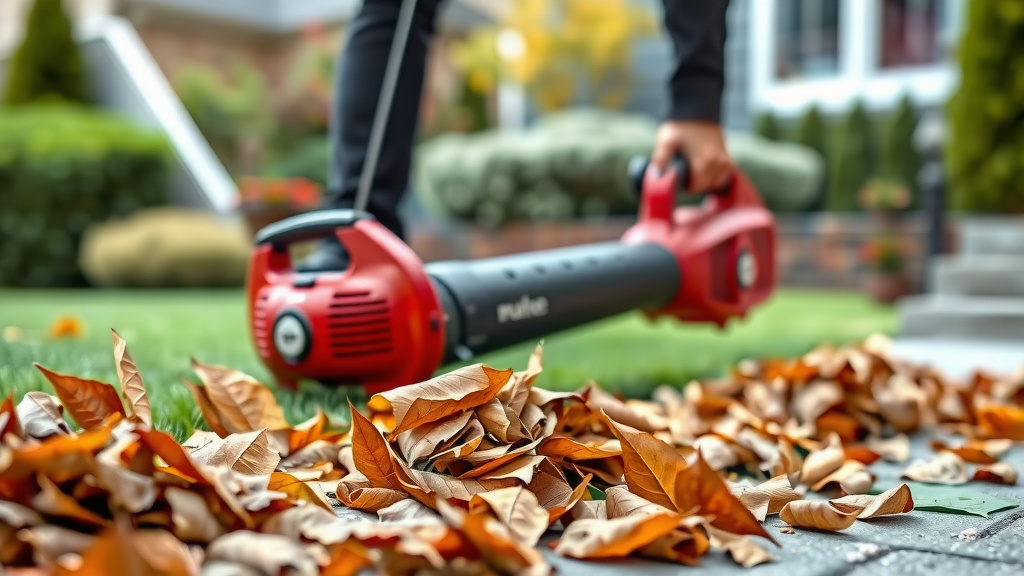
Step 2: Start with the Blower Function
Begin by setting your machine to blower mode. Work from the edges of your yard inward. This helps create neat piles and prevents you from blowing leaves back over areas you’ve already cleared. Think of it like sweeping – you work your way towards a central point.
If you have a large lawn, divide it into sections. This makes the task feel less overwhelming. Aim to blow leaves toward a central collection point or toward your driveway or a tarp for easier cleanup. Avoid blowing leaves directly into flower beds if they are delicate; gently guide them out.
Step 3: Transition to Vacuum Mode for Collection
Once you’ve gathered your leaves into manageable piles, it’s time to switch to vacuum mode. Position your machine over the pile and begin sucking the leaves into the collection bag. The mulching action will start to work its magic, reducing the bulk.
Take your time. If the piles are very large, you might need to break them down into smaller loads for the vacuum. This prevents the machine from getting clogged. For particularly wet or matted leaves, you might need to use a rake to loosen them up before vacuuming.
Step 4: Emptying the Collection Bag
The collection bag will fill up, and you’ll need to empty it. Most bags have a simple zipper or clasp for easy release. If mulching, the shredded material will be finer and easier to handle.
You can empty the contents directly into your compost bin, a yard waste bag, or your garden beds for mulching. We found that emptying the bag when it’s about two-thirds full makes it easier to manage and prevents the machine from becoming too heavy. Plus, it avoids overstuffing and potential clogs.
Tips for Different Yard Conditions
Your yard isn’t always uniform, and neither are the leaves. Here’s how to tackle various scenarios:
Dealing with Wet Leaves
Wet leaves are heavier and tend to mat down. They can be more challenging for both blowing and vacuuming. When blowing, you might need a bit more power or a lower angle to lift them. For vacuuming, try to loosen them with a rake first. Some experts suggest that waiting for leaves to dry slightly can make cleanup easier, but sometimes you just have to work with what nature gives you (PennState Extension).
Tackling Tough Debris
Your leaf blower vacuum is designed for leaves, but it can handle small twigs and pinecones too. However, avoid vacuuming large branches or hard objects. These can damage the impeller or clog the machine. If you encounter a large branch, it’s best to pick it up manually.
Mulching for Garden Beds
Don’t just bag those shredded leaves! They are a gardener’s best friend. Spread a layer of shredded leaves around your plants. This helps retain soil moisture, suppress weeds, and slowly adds nutrients as they decompose. It’s like giving your garden a cozy, natural blanket.
Maintenance for Longevity
To keep your leaf blower vacuum running smoothly for seasons to come, a little maintenance goes a long way. Just like any tool, it needs a bit of TLC.
Cleaning After Use
After each use, it’s a good idea to wipe down the exterior. Empty the collection bag and shake out any lingering debris. Check the air intake and blower tube for blockages. If you notice any buildup, a brush or cloth can usually clear it.
Storage Tips
Store your leaf blower vacuum in a dry place. If it’s a gas model, follow the manufacturer’s instructions for seasonal storage, which often involves draining the fuel. For electric models, ensure the cord is neatly wrapped and protected. Proper storage helps prevent damage and ensures your machine is ready when you need it.
Checklist: Your Quick Yard Cleanup Guide
- Wear safety glasses and hearing protection.
- Inspect your machine for damage before starting.
- Clear the work area of hazards.
- Use blower mode to gather leaves into piles.
- Switch to vacuum mode for collection and mulching.
- Empty the collection bag regularly.
Conclusion
You’ve got the knowledge to make yard cleanup a breeze with your leaf blower vacuum. Remember to always prioritize safety first by wearing your protective gear. Mastering the blower and vacuum modes, along with understanding the mulching benefits, will transform how you care for your lawn. Don’t forget to give your machine a little TLC with cleaning and proper storage. Now you’re ready to tackle any leaf situation your yard throws at you!
Your next step? Grab your gear, fire up your leaf blower vacuum, and enjoy a tidier yard!
Frequently Asked Questions
How often should I clean my leaf blower vacuum?
It’s best to give your leaf blower vacuum a quick clean after each use. This usually involves emptying the bag and wiping down the exterior. A more thorough check for blockages in the intake and tube can prevent future problems.
Can a leaf blower vacuum handle wet leaves effectively?
Wet leaves are heavier and can be more challenging. You might need to use a rake to loosen them before vacuuming. While some models handle them better than others, drying leaves slightly can improve performance if weather permits.
What if my leaf blower vacuum clogs?
If your machine clogs, turn it off immediately and disconnect the power source or remove the battery. Gently remove the obstruction. Often, a clog happens if you try to vacuum too much at once or pick up large debris.
Is the mulched material from a leaf blower vacuum good for plants?
Yes, the finely shredded leaves act as excellent mulch. They help retain soil moisture, suppress weeds, and add organic matter to your soil as they decompose. It’s a natural way to nourish your garden beds.
How can I make my leaf blower vacuum last longer?
Proper maintenance is key. Keep it clean after each use, store it in a dry place, and follow any specific instructions for gas models regarding fuel storage. Checking for wear and tear regularly also helps extend its lifespan.