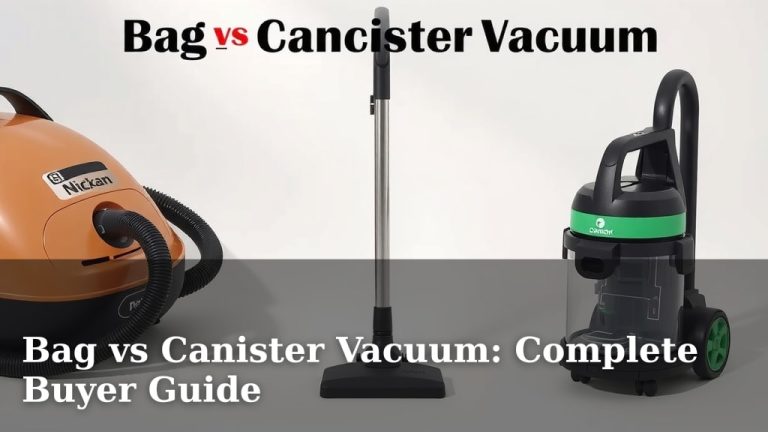
How to Use a Canister Vacuum: Master Guide
Mastering your canister vacuum is simpler than you might think! The core idea is to understand its separate parts and how they work together for powerful cleaning. You’ll connect the hose to the main unit, then attach the right cleaning wand and head for the surface you’re tackling. It’s all about making your vacuum work smarter, not harder, to give you sparkling clean floors.
Canister vacuums offer a different cleaning experience than upright models. Their separation of the motor and dustbin allows for more flexible maneuverability. You can easily glide the canister around furniture. Plus, they often come with a wider array of attachments for specialized cleaning tasks, from upholstery to tricky corners, making them a versatile tool for your home.
TL;DR:
- Connect hose to canister body.
- Attach wand and cleaning head.
- Select the right attachment for your floor type.
- Keep the dustbin or bag clean for best suction.
- Remember to empty it regularly!
Ready to get the most out of your canister vacuum? Let’s walk through exactly how to use it step by step, from setup to storage, so you can achieve your cleanest home yet.
Getting Started with Your Canister Vacuum Cleaner
So you’ve got a canister vacuum, and you’re wondering how to make it your best friend for cleaning. It’s actually quite straightforward once you get the hang of it. We’ll guide you through each step.
Assembling Your Canister Vacuum
The first thing you’ll do is connect the main parts. Think of it like building a simple tool. You’ll want to make sure everything clicks securely into place. This ensures good suction and prevents parts from accidentally disconnecting mid-clean.
Connecting the Hose
Your canister vacuum has a main body, which is the canister itself. This is where the motor and dust collection live. Then there’s the hose. You’ll find a port on the canister for the hose. Push it in until you hear or feel a firm click. This connection is vital for airflow. A loose hose means lost suction power. We found that checking this connection first saves a lot of frustration later.
Attaching the Wand and Floor Head
Next up is the wand. This is the rigid tube that extends your reach. It usually attaches to the other end of the hose. There might be a button you press to lock it in place. On the end of the wand, you’ll attach the floor head. This is the part that actually touches your floor. Most canister vacuums come with multiple floor heads. You’ll select the one best suited for the surface you’re cleaning. Some click on, others might twist into place.
Choosing the Right Attachment for the Job
Canister vacuums are famous for their versatility. This is largely thanks to their wide range of attachments. Using the right one makes a huge difference. It means a cleaner home and less effort for you.
The Main Floor Head
You’ll likely have a main floor head designed for general use. Many have a switch to toggle between carpet and hard floors. For carpets, the brush roll is usually engaged to agitate the fibers. For hard floors like wood or tile, you might want to turn the brush roll off. This prevents scattering debris. Many manufacturers recommend this simple step for optimal cleaning on different surfaces.
Specialized Attachments for Deeper Cleaning
Beyond the main floor head, you’ll find other tools. There’s often a crevice tool. This is a long, narrow attachment perfect for tight spaces. Think between couch cushions or along baseboards. A dusting brush is also common. It has soft bristles to gently clean delicate surfaces like lampshades or blinds. Upholstery tools are great for furniture. They help lift pet hair and dirt from fabric. We found that keeping these smaller tools handy makes quick cleanups much easier.
Operating Your Canister Vacuum for Maximum Power
Now that it’s assembled, let’s talk about actually using it. You want that great suction power, right? A few simple things ensure you get it.
Power Settings and Suction Control
Many canister vacuums have adjustable power settings. You might find a dial on the canister itself or a slider on the hose handle. Lower settings are good for delicate rugs or curtains. Higher settings are needed for deep-pile carpets or heavily soiled areas. Some models even have an air flow regulator on the hose. This lets you fine-tune suction for different tasks. For example, you might reduce suction slightly when cleaning a rug. This prevents the vacuum from “sticking” too hard to the surface. Research suggests that adjusting suction can also extend the life of your vacuum motor (Good Housekeeping Institute).
The Importance of a Clean Dustbin or Bag
This is arguably the most critical step for maintaining suction. If your dustbin or bag is full, your vacuum simply can’t breathe. Think of it like trying to suck air through a clogged straw. Suction power will drop dramatically. Most bags and bins are designed to be effective up to a certain fullness. Many experts advise emptying them when they are about two-thirds full. This ensures consistent performance. We found that emptying the bin before it gets too full is a habit worth forming.
Post-Cleaning and Maintenance Checklist
Once you’re done cleaning, a little bit of maintenance goes a long way. This keeps your vacuum running smoothly for years.
Emptying the Dustbin or Replacing the Bag
After each major cleaning session, or when the indicator shows it’s full, empty the dustbin. If you use bags, replace them as needed. This prevents dust from escaping back into your air. Many models have a simple release button for the dustbin. Bags usually involve opening a compartment and pulling out the old one. Make sure to dispose of the full bag properly. You don’t want dust bunnies escaping mid-transfer!
Cleaning and Storing Your Vacuum
Periodically, you’ll want to clean the attachments and the hose. Check the brush roll for tangled hair or threads. Carefully remove any blockages. Wipe down the exterior of the canister and hoses. Store your vacuum in a dry place. Many canister vacuums have cord rewind features. Make sure the cord is fully retracted before storing. Some models also have onboard storage for smaller attachments. This keeps everything neat and tidy. It’s like putting your tools away after a job well done!
Here’s a quick checklist to keep you on track:
- Connect hose securely to the canister.
- Attach the appropriate wand and floor head.
- Select the right attachment for your floor type.
- Adjust suction power as needed for different surfaces.
- Empty the dustbin or replace the bag when about two-thirds full.
- Tidy up attachments and store your vacuum neatly.
Conclusion
You’re now equipped to master your canister vacuum! We’ve covered assembly, choosing the right tools, and maximizing suction power. Remember, a clean dustbin and proper maintenance are key to performance. Don’t forget to clear the brush roll and store your vacuum neatly. Following these steps will ensure your canister vacuum keeps your home looking its best. Start by checking your dustbin level before your next cleaning session!
Frequently Asked Questions
How do I know if my canister vacuum’s dustbin is too full?
Most canister vacuums have an indicator line or window on the dustbin. Many manufacturers recommend emptying it when it’s about two-thirds full. If you notice a significant drop in suction power, it’s likely time to empty it.
Can I use a canister vacuum on stairs?
Yes, canister vacuums are often great for stairs due to their maneuverability. The canister can often be carried or set on a step, while you use the lightweight hose and wand to clean. Always ensure the canister is stable before you start.
What’s the best way to store my canister vacuum?
Store your canister vacuum in a dry, accessible place. Many models have built-in cord rewind features. Utilize any onboard storage for smaller attachments to keep them organized and ready for use.
My canister vacuum is losing suction. What should I do?
The most common cause is a full dustbin or bag. Check for clogs in the hose, wand, or floor head. Also, inspect the filters and clean or replace them according to your vacuum’s manual.
How often should I clean the filters in my canister vacuum?
Filter cleaning frequency depends on your vacuum model and how often you use it. Most manufacturers recommend checking and cleaning filters every 1-3 months. Refer to your owner’s manual for specific guidance.