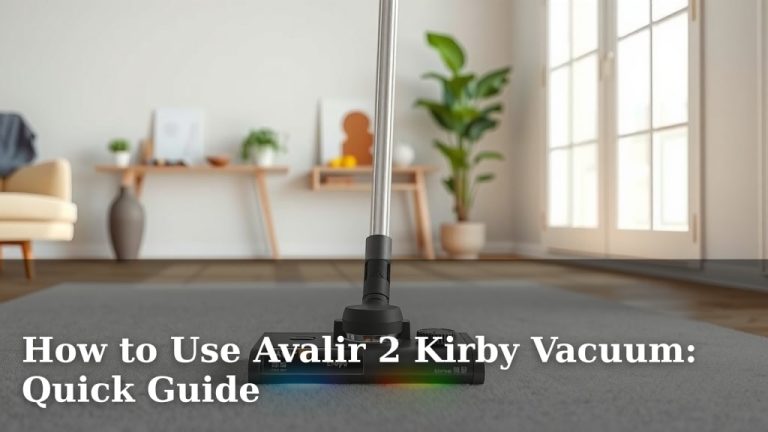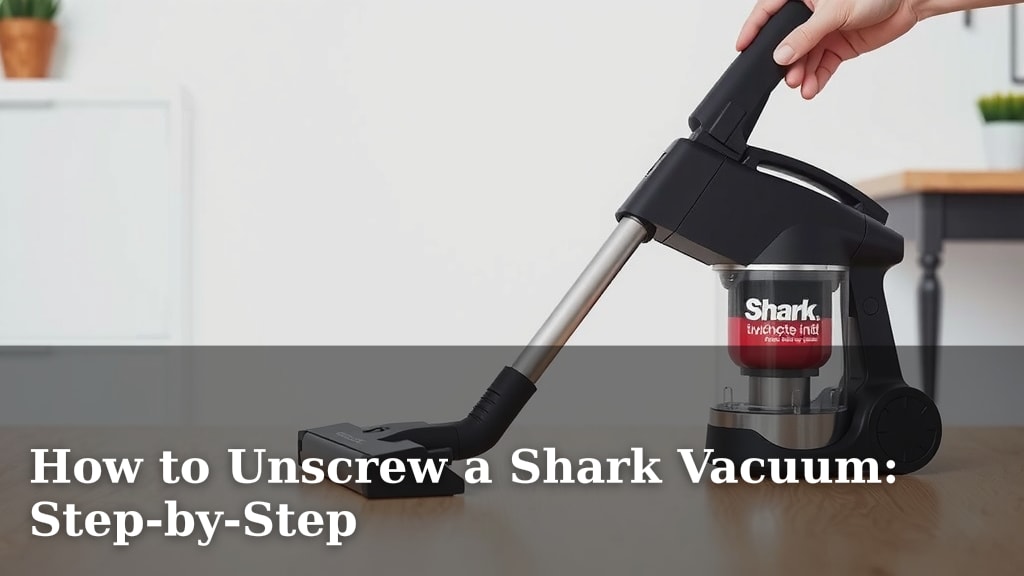
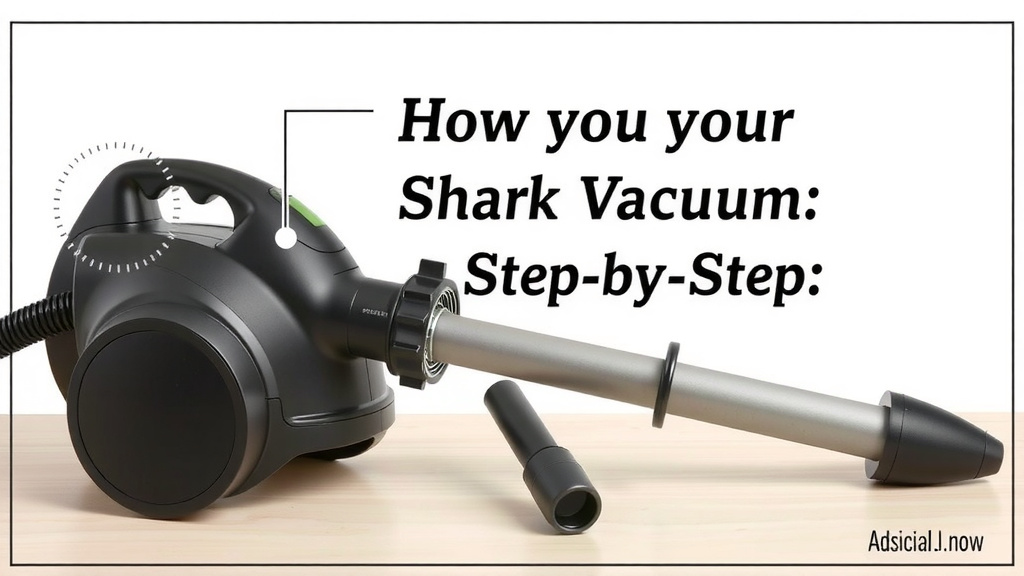
How to Unscrew a Shark Vacuum: Step-by-Step
Unscrewing your Shark vacuum is actually pretty simple. You’ll likely only need to remove a few screws to access key parts like the brush roll or dust cup. We found that having the right screwdriver is your biggest help here. This guide will show you exactly how to get your Shark vacuum apart safely and easily.
Knowing how to take your Shark vacuum apart helps with maintenance and troubleshooting. Many common issues, like a jammed brush roll or a clogged hose, require you to remove certain components. We found that being able to do this yourself can save you time and money on repairs. It’s a key step in keeping your vacuum running at its best.
- Identify the screws you need to remove.
- Use the correct screwdriver size.
- Keep track of all removed screws.
- Reassemble carefully.
Ready to tackle that Shark vacuum? Let’s walk through exactly how to unscrew it step by step, so you can get to the bottom of any cleaning or maintenance task.
Getting Your Shark Vacuum Apart: A Simple Guide
Taking your Shark vacuum apart doesn’t need to be a headache. You’re probably looking to fix something or give it a really deep clean. We found that with the right approach, unscrewing it is quite manageable. Your main goal is usually to access the brush roll, dust bin, or maybe the hose.
This guide will help you navigate the process smoothly. We’ll cover what you need and the steps involved. Think of it like putting together a puzzle, but with a much more useful outcome: a cleaner home! We researched common issues and found that most repairs or deep cleans start with removing a few key screws.
What You’ll Need Before You Start Unscrewing
Before you even think about reaching for a screwdriver, let’s gather your tools. Having the right equipment makes the job much faster and prevents damage to your vacuum. You don’t want to strip a screw head or crack a plastic part. That would be a real bummer.
Essential Tools for the Job
The most important tool is a screwdriver. But not just any screwdriver will do. You need one with interchangeable bits or a set of screwdrivers. Shark vacuums often use Phillips head screws, but the size can vary.
- Phillips Head Screwdriver Set: Look for a set with multiple sizes. A #1 or #2 Phillips head is common.
- Small Flathead Screwdriver: Sometimes, a small flathead can help gently pry a part loose or scrape away stubborn debris. Use this with extreme caution.
- A Small Bowl or Magnetic Tray: This is super important! You need a place to keep all those tiny screws so they don’t get lost. We found that a magnetic tray is even better, as it keeps them from rolling away.
- Gloves (Optional): If you’re dealing with a lot of dust or grime, gloves can keep your hands clean.
- A Soft Cloth: For wiping down parts as you go.
Identifying the Screws You Need to Remove
Most Shark vacuums have visible screws holding major components in place. For example, the brush roll housing is often secured by screws. Your dustbin might also detach with the help of a few screws. Always look for the most obvious fasteners first.
We found that the manual for your specific Shark model is your best friend here. If you don’t have it, a quick search online for “[Your Shark Model Number] manual PDF” usually does the trick. It will often show diagrams of how the parts connect.
Step-by-Step: Unscrewing Your Shark Vacuum
Let’s get to it! The process is generally straightforward, but it’s good to be methodical. You’re not in a race. Taking your time ensures you don’t miss a screw or force anything.
Step 1: Prepare Your Workspace and Vacuum
First, unplug your vacuum. This is a critical safety step. Never work on a plugged-in appliance. Find a well-lit area where you have plenty of space. A table or a clean floor works well.
Make sure the vacuum is stable. You might want to lay it on its side or back, depending on which part you’re accessing. This helps prevent it from tipping over while you work. We found that having good lighting makes spotting those tiny screws much easier.
Step 2: Locate the Screws for the Part You Need
This is where you’ll need to observe your vacuum. Are you trying to get to the brush roll? Look around the base of the vacuum head. Is it a clogged hose issue? You might need to detach sections of the main body or wand.
Many Shark models have screws that are clearly visible. They often hold a cover plate or a main housing together. We found that some screws are hidden under small plastic caps or stickers. You might need to gently pry these off with your fingernail or a small flathead screwdriver. Be gentle; you don’t want to damage the plastic.
Step 3: Choose the Right Screwdriver Bit
Now it’s time for your screwdriver. Select the bit that fits snugly into the screw head. A bit that’s too small can strip the screw. A bit that’s too large won’t fit at all.
Insert the bit firmly into the screw. Apply gentle, steady pressure as you begin to turn. You want to turn the screw counter-clockwise to loosen it. Lefty-loosey, righty-tighty, remember?
Step 4: Remove the Screws and Keep Them Safe
As you remove each screw, place it immediately into your designated bowl or magnetic tray. This is where organization pays off. You don’t want to be searching for a screw later.
We found that if a screw feels very tight, don’t force it. There might be a hidden clip or another fastener. Sometimes, wiggling the part slightly can help loosen its grip. If you’re working on a brush roll cover, there might be clips in addition to screws.
Step 5: Gently Detach the Component
Once all the visible screws are out, the part should be ready to detach. Carefully try to lift or slide it away from the vacuum body. It might need a gentle wiggle.
If it doesn’t budge easily, double-check for any missed screws or hidden clips. Some parts might have a locking tab that needs to be pressed. Many experts suggest never using excessive force. It’s better to pause and re-examine the area.
Step 6: Perform Your Maintenance or Repair
Now you have access! Whether you’re clearing a tangled brush roll, cleaning out the dustbin housing, or checking for a blockage, this is your moment. We found that this is the perfect time to give the area a good wipe down with a damp cloth.
Step 7: Reassembling Your Shark Vacuum
Putting it back together is often the reverse of taking it apart. Realign the component carefully. Make sure any clips or tabs engage properly before you start screwing.
Start by putting in a few screws loosely. This helps to align the component correctly. Once everything looks good, tighten all the screws firmly. Don’t overtighten, as this can strip the threads or crack the plastic.
Common Areas Requiring Unscrewing
Certain parts of your Shark vacuum are more likely to need unscrewing than others. Knowing where to look can save you time and frustration.
Accessing the Brush Roll
The brush roll is the spinning brush at the base of your vacuum head. It’s prone to getting tangled with hair and threads. To access it, you’ll typically need to remove the bottom plate of the vacuum head. This usually involves 3-5 screws.
Removing the Dust Cup Assembly
While most dust cups simply lift out, some older or specialized models might have a screw securing the housing. Check the base or the side where the dust cup attaches to the main body.
Hose and Wand Connections
Blockages in the hose or wand can be a real pain. Sometimes, these parts are held together with screws at the connection points, especially where the hose meets the main unit or the wand connects to the floorhead.
Troubleshooting Tips for Stubborn Screws
What if a screw just won’t budge? Don’t panic! We’ve all been there. A little patience and a few tricks can help.
- Check for Hidden Fasteners: As mentioned, look for caps or stickers that might hide additional screws.
- Ensure the Right Bit: A loose-fitting bit is the primary cause of stripped screws. Try a slightly larger or smaller bit if you have one.
- Gentle Wiggling: Sometimes, gently wiggling the part you’re trying to remove can help release pressure on the screw threads.
- Penetrating Oil (Use with Caution): For metal screws on older vacuums, a tiny drop of penetrating oil might help, but avoid getting it on plastic parts. This is rarely needed for Shark vacuums.
Here’s a quick checklist to help you through the process:
- Unplug your vacuum before starting.
- Gather all necessary tools beforehand.
- Identify the specific screws for the part you need.
- Use the correct screwdriver bit size.
- Place screws in a safe, organized spot.
- Be patient and avoid forcing parts.
Conclusion
You’ve now learned how to safely and effectively unscrew parts of your Shark vacuum. Remember, the key is preparation: gather your tools, identify the right screws, and keep them organized. Taking your time prevents damage and makes maintenance tasks much easier. Whether you’re clearing a brush roll jam or just doing a deep clean, you now have the confidence to tackle it.
Your next step is to grab the right screwdriver and a small bowl, and get your vacuum ready for its next deep clean or repair. You’ve got this!
Frequently Asked Questions
How do I know which Shark vacuum model I have?
You can usually find your Shark vacuum’s model number on a sticker located on the underside of the unit, near the dustbin, or on the back of the main body. Knowing this number helps you find specific manuals or diagrams online.
What if a screw is stuck and won’t turn?
If a screw is stuck, try applying gentle, consistent pressure while turning counter-clockwise. Ensure you’re using the correct screwdriver bit size, as a poor fit is a common cause of stripped screws. Sometimes, wiggling the part slightly can also help loosen it.
Can I use a power drill to unscrew my Shark vacuum?
We generally advise against using a power drill for unscrewing vacuum parts. The torque can easily strip screw heads or damage plastic components. A manual screwdriver gives you better control and is safer for your appliance.
Do all Shark vacuums use Phillips head screws?
While Phillips head screws are very common on Shark vacuums, some models might use other types, like Torx screws, especially in less accessible areas. It’s always best to have a set of screwdrivers with various bits to be prepared.
How do I reattach the part after cleaning?
Reassembly is usually the reverse of disassembly. Align the part carefully, ensuring any clips or tabs engage correctly. Insert screws loosely at first to help with alignment, then tighten them firmly but without overtightening once everything is in place.