How to Clean a Dyson Stick Vacuum: Full Guide
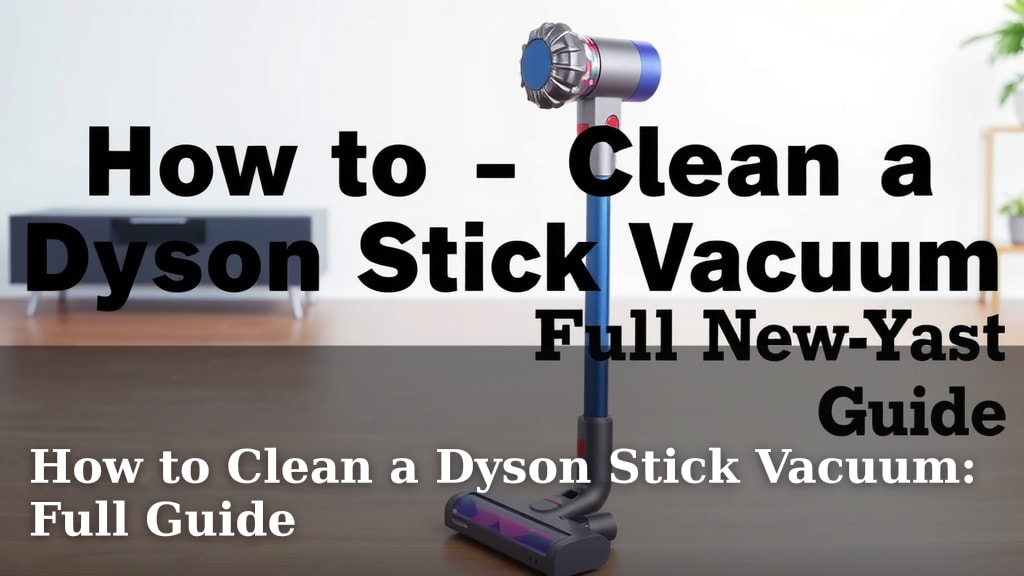
The easiest way to clean your Dyson stick vacuum is to regularly wash its bin and filters. This keeps your vacuum running at peak performance. You can usually rinse most Dyson parts with plain water. Make sure everything is completely dry before reassembling.
Keeping your Dyson clean prevents clogs and ensures maximum suction power. We found that a little regular maintenance goes a long way. It protects your investment and makes vacuuming less of a chore. Think of it as a spa day for your trusty cleaning companion.
- Wash the dust bin and filters regularly.
- Use only cold water for cleaning.
- Ensure all parts are thoroughly dry.
- Check the brush bar for tangled hair.
- Empty the bin after every use.
Ready to give your Dyson some TLC? Let’s walk through the simple steps to get it sparkling clean and running like new again.
Keeping Your Dyson Stick Vacuum Running Smoothly
You’ve invested in a Dyson, and you want it to last. A clean Dyson means a cleaner home. It’s really that simple. We’ve found that regular cleaning is the best way to maintain its powerful suction. Let’s get your vacuum back to its best performance.
The Easy Way to Wash Your Dyson Bin
Your Dyson’s dust bin collects all sorts of debris. Over time, this can impact suction. Washing it is a straightforward process. It removes fine dust and prevents odors.
Step-by-Step Bin Cleaning
First, you’ll need to detach the bin from your vacuum. Most Dyson models have a release mechanism. Check your manual if you’re unsure. Once removed, head to a trash can. Empty all the contents. Give it a good shake to loosen any stuck-on bits.
Now, prepare for washing. You’ll need a sink and cool water. Avoid hot water, as it can damage the plastic. Rinse the bin thoroughly. You might need a soft brush for stubborn dust. A small paintbrush can work well for tight spots. We found that a gentle scrub is usually enough.
After rinsing, turn the bin upside down. Let all the excess water drain out. This is a critical step. You don’t want any moisture lingering. We cannot stress this enough: the bin must be completely dry before reattaching. This can take 24 hours or more.
Drying Your Dyson Bin Properly
Patience is key here. Place the bin in a warm, dry spot. Good air circulation is important. You can place it on a drying rack or a clean towel. Avoid direct heat sources like radiators or hairdryers. These can warp the plastic. Ensure there’s no condensation inside before you put it back.
Cleaning Your Dyson’s Filters
Your Dyson’s filters are like its lungs. They trap fine particles. Clogged filters mean less airflow and weaker suction. Cleaning them regularly is essential for peak performance. Most Dyson models have washable filters. Always check your specific model’s instructions.
Washing the Pre-Motor Filter
Locate your pre-motor filter. It’s usually found near the top of the vacuum. Twist and pull to remove it. Once removed, tap it gently against the side of a bin. This gets rid of loose dust. You’ll be surprised how much comes out.
Rinse the filter under cool running water. Again, no hot water! Gently squeeze and massage it. You want to remove all the fine dust. Keep rinsing until the water runs clear. This might take a few minutes. Some users find using a soft brush helps dislodge stubborn dirt.
After rinsing, squeeze out as much water as possible. Then, let it air dry completely. This is just as important as drying the bin. We found that it typically takes at least 24 hours for filters to dry fully. They must be bone dry before going back into the vacuum. A damp filter can damage the motor and cause mold growth.
Cleaning the Post-Motor Filter (HEPA Filter)
Some Dyson models have a post-motor filter, often a HEPA filter. These filters are also usually washable. Follow the same rinsing and drying steps as the pre-motor filter. Ensure it’s completely dry before reassembling. Some experts recommend replacing these filters annually.
Checking and Cleaning the Brush Bar
The brush bar is the workhorse on your cleaner head. It agitates carpets and picks up debris. Hair, threads, and other bits can get tangled. This reduces its effectiveness. Inspecting it often is a good habit.
Untangling Hair and Debris
Turn the cleaner head over. Look for any wrapped-around hair or string. You might need scissors or tweezers to remove it. Be careful not to cut any bristles. For stubborn tangles, a seam ripper can be helpful. We found that removing these is usually a quick job.
Washing the Brush Bar (If Applicable)
Some Dyson brush bars are removable. Check your model’s guide. If it is, you can wash it. Use cool water and a mild detergent. Rinse it thoroughly. Let it air dry completely. Ensure all moisture is gone before putting it back. A wet brush bar can cause issues.
Maintaining Your Dyson’s Tools and Attachments
Don’t forget about your attachments! Crevice tools, brush attachments, and other accessories collect dust too. These can harbor germs and reduce efficiency.
Washing Attachments
Most attachments can be wiped clean with a damp cloth. For deeper cleaning, rinse them under cool water. Some might be dishwasher safe on the top rack. Always consult your Dyson manual first. Allow them to air dry completely.
Quick Checklist for Dyson Maintenance
Here’s a quick rundown to keep your Dyson in top shape:
- Empty the bin after every use.
- Wash the bin and filters regularly.
- Always use cold water for cleaning.
- Ensure all parts are completely dry.
- Check and clear the brush bar for tangles.
- Wipe down your tools and attachments.
Troubleshooting Common Dyson Issues
Is your Dyson not picking up like it used to? Is it making strange noises? Often, a simple cleaning is the fix. Clogs in the bin, filters, or hose are common culprits. Following these cleaning steps can resolve many performance problems.
What If Suction is Still Low?
If cleaning doesn’t solve the problem, check for blockages. Inspect the wand and hose for trapped debris. You can often see these by holding them up to a light. Remove any obstructions carefully. If you suspect a motor issue, it’s best to contact Dyson support.
When to Consider New Parts
Filters and batteries do have a lifespan. If your filters are visibly worn or damaged after washing, consider replacing them. Similarly, if battery life has significantly decreased, it might be time for a new battery. These are typically available from Dyson or authorized retailers.
Conclusion
You’ve learned how to keep your Dyson stick vacuum in top shape. Regular cleaning of the bin, filters, and brush bar is key. This ensures your vacuum maintains its powerful suction. Following these simple steps protects your investment. It also means your Dyson will continue to clean your home effectively for years to come. Ready to get started? Make washing the bin and filters your next priority.
Frequently Asked Questions
How often should I clean my Dyson’s filters?
We recommend washing your Dyson’s filters at least once a month. If you use your vacuum frequently or notice a decrease in suction, it’s a good idea to clean them more often. Ensure they are completely dry before reinserting them to avoid any damage.
Can I use soap or detergent when washing my Dyson bin or filters?
No, it’s best to use only plain cold water. Dish soap or other detergents can degrade the plastic components over time. They can also leave residue that might affect your vacuum’s performance. Stick to water for the safest and most effective cleaning.
My Dyson bin feels dusty inside, even after emptying. What should I do?
Even after emptying, a fine dust can cling to the inside of the bin. This is why washing is essential. When you wash the bin, use a soft brush or even a small paintbrush to gently scrub away any stuck-on debris. Make sure it’s bone dry before reattaching it.
Is it okay to use a hairdryer to speed up the drying process?
We strongly advise against using heat sources like hairdryers or placing parts near radiators. High heat can warp or damage the plastic components of your Dyson. Air drying in a well-ventilated area is the safest method to ensure parts are completely dry.
What’s the difference between the pre-motor and post-motor filters?
The pre-motor filter captures larger dust particles before they reach the motor, protecting it from damage. The post-motor filter, often a HEPA filter, captures microscopic allergens and fine dust. Both are usually washable, but cleaning them regularly is vital for maintaining airflow and air quality.