How to Use a Hoover Shampoo Vacuum: Guide
Using your Hoover shampoo vacuum is quite simple once you know the steps. You can achieve cleaner carpets and tackle tough stains effectively by following a few key actions. This guide will show you how to get the best results with your Hoover shampoo vacuum.
Many people wonder if these machines are difficult to operate. We found that with the right preparation, it’s a straightforward process. It’s a great way to refresh your home, making your carpets feel like new again without needing professional help.
- Pre-treat stubborn stains for better results.
- Fill the clean water tank with the correct solution.
- Make slow, overlapping passes to clean effectively.
- Empty and rinse the dirty water tank afterward.
Let’s walk through exactly how to use your Hoover shampoo vacuum step by step to get your carpets looking their best.
Getting Your Carpets Sparkling with Your Hoover Shampoo Vacuum
So, you’ve got a Hoover shampoo vacuum and want to make your carpets look their best. It’s a fantastic tool for deep cleaning. We’ve found that understanding a few key steps makes the whole process much easier and more effective. Let’s get your carpets looking refreshed!
Preparing Your Space for a Deep Clean
Before you even think about mixing solutions, a little prep work goes a long way. This step ensures your vacuum can work its magic without interruption.
Tidying Up: The First Order of Business
Start by removing all small furniture, toys, and decor from the carpeted area. This gives your vacuum full access to the carpet fibers. You don’t want to be maneuvering around obstacles. It’s like clearing the deck before a big cleaning project.
Vacuuming is Key: A Dry Run
Yes, you read that right. Before you introduce any water or cleaning solution, give your carpets a thorough dry vacuuming. This removes loose dirt, dust, and pet hair. A clean carpet surface allows the shampoo solution to reach deeper into the fibers. We found that going over high-traffic areas twice makes a noticeable difference. Think of it as dusting before you wipe down a table.
Tackling Stubborn Stains: Pre-Treatment Power
For those really tough spots – think wine spills, pet accidents, or grease – a little pre-treatment is essential. Many Hoover models come with specific stain-remover solutions, or you can use a commercially available carpet pre-treatment spray. Apply it directly to the stain according to the product’s instructions. Then, let it sit for the recommended time, usually 5-10 minutes. This helps to break down the stain before you even start the shampooing process. Research suggests that treating stains before general cleaning yields much better results (Good Housekeeping Institute).
Mixing Your Cleaning Solution: The Right Formula
Using the correct cleaning solution is crucial for effective cleaning and protecting your carpet. Your Hoover shampoo vacuum likely has a designated tank for the cleaning mixture.
What to Use: The Manufacturer’s Recommendation
Always refer to your Hoover vacuum’s manual for the specific type and amount of cleaning solution recommended. Using the wrong type of soap can damage your machine or leave residue. Many experts recommend using only Hoover brand carpet cleaning solutions or those specifically approved for carpet shampooers. We found that sticking to the recommended ratio ensures the best cleaning performance.
Filling the Tank: A Simple Process
Once you have your solution, it’s time to fill the clean water tank. Most Hoover models have a fill line marked on the tank or the machine itself. Fill the tank with hot tap water (not boiling). Then, add the recommended amount of carpet shampoo. Some newer models have a separate compartment for the solution, while older ones might require you to mix it directly in the tank. Ensure the cap is securely fastened after filling.
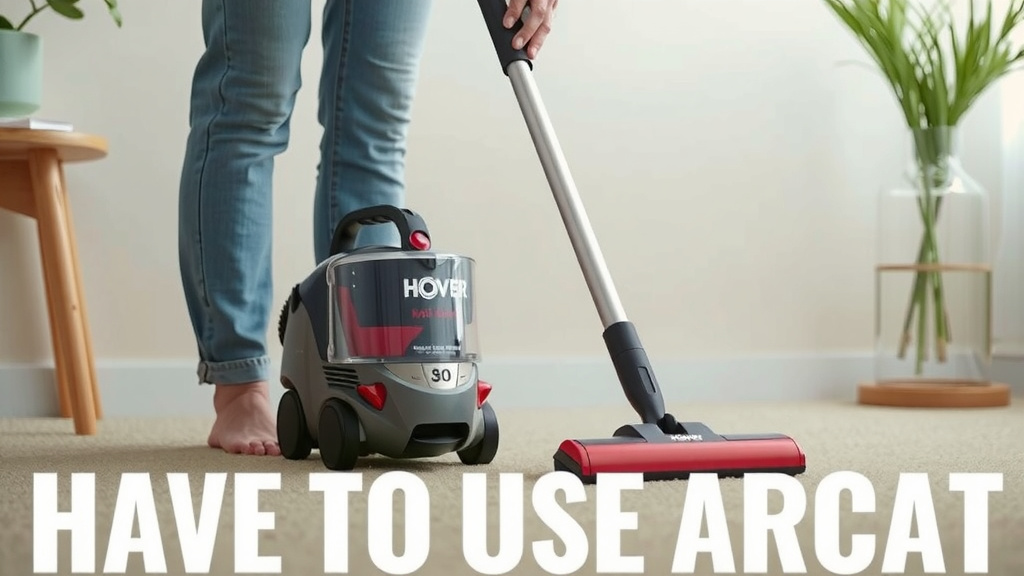
The Shampooing Process: Step-by-Step
Now for the main event! This is where your Hoover shampoo vacuum truly shines.
Making Your First Pass: Wetting the Carpet
Turn on your Hoover vacuum. Most models have a trigger or button to dispense the cleaning solution as you push the machine forward. For the first pass over each section of carpet, gently push the machine forward while holding down the trigger to release the solution. Do not scrub back and forth vigorously at this stage. Just a steady forward motion is enough to lay down the cleaning solution.
The Backwards Stroke: Lifting the Dirt
Now, release the trigger and slowly pull the machine backward over the same path. This backward pass is what sucks up the dirty water and loosened grime. The suction power is essential here. Many people find that going slightly slower on the backward pass helps the machine pick up more water. We found that overlapping your strokes slightly, about half a path, ensures no spots are missed.
Drying Passes: Removing Excess Moisture
After you’ve gone over an area with the solution and then pulled back to extract, make a few additional backward passes without pressing the trigger. These are your drying passes. They help to remove as much moisture as possible from the carpet. The more water you extract now, the faster your carpets will dry. Research from cleaning professionals often highlights the importance of these drying passes for preventing mildew and odors (Carpet and Rug Institute).
Working in Sections: A Strategic Approach
Don’t try to shampoo your entire room at once. Work in manageable sections, perhaps 3-by-4-foot areas. This prevents the carpet from becoming oversaturated and ensures you complete the wet and dry passes effectively before moving on. This systematic approach helps you maintain momentum and achieve a uniform clean.
Aftercare: Keeping Your Hoover and Carpets Fresh
Once you’re finished shampooing, there are a few important steps to take to ensure your machine stays in good working order and your carpets dry properly.
Emptying and Rinsing the Dirty Water Tank
This is a critical step that many people overlook. Once you’ve completed your cleaning, immediately empty the dirty water tank. You’ll be amazed at how much grime this machine collects! After emptying, rinse the tank thoroughly with clean water. This prevents odors from developing and keeps the tank clean for your next use. Make sure to remove any debris or lint that may have accumulated.
Cleaning the Machine: A Quick Wipe Down
Wipe down the exterior of your Hoover shampoo vacuum with a damp cloth. Check the brush roll for any tangled hair or fibers and clean it as needed. Many Hoover models have removable parts that can be rinsed. Again, consult your manual for specific cleaning instructions for your model. A little cleaning after each use makes a big difference in the machine’s longevity.
Carpet Drying: Patience is a Virtue
Allow your carpets to dry completely before walking on them or replacing furniture. Open windows or use fans to help circulate air and speed up the drying process. Avoid walking on damp carpets, as this can lead to re-soiling and can also cause damage to the fibers. Many experts suggest drying times can range from 6 to 12 hours, depending on humidity and ventilation (National Association of Home Builders).
Quick Checklist for Your Hoover Shampoo Vacuum Session
- Clear the area of furniture and small items.
- Perform a thorough dry vacuum of the carpet.
- Pre-treat any visible tough stains.
- Use the correct hot water and approved solution mixture.
- Make slow, overlapping wet and dry passes.
- Empty, rinse, and clean the machine immediately after use.
Conclusion
You’ve now learned how to effectively use your Hoover shampoo vacuum for a refreshed home. By preparing your space, mixing the right solution, and following the simple shampooing and aftercare steps, you can achieve professional-looking results. Remember, a little preparation and proper technique make all the difference. Your carpets will look and feel cleaner than ever before. Now, go ahead and schedule your next cleaning session to maintain that sparkling clean!
Frequently Asked Questions
How often should I use my Hoover shampoo vacuum?
For most homes, using your Hoover shampoo vacuum once or twice a year for deep cleaning is sufficient. If you have pets or high-traffic areas, you might consider doing it quarterly. Overuse can wear down carpet fibers, so it’s best to strike a balance.
Can I use any brand of carpet shampoo with my Hoover vacuum?
We strongly recommend using only Hoover-approved carpet cleaning solutions or those specifically designed for Hoover shampoo vacuums. Using the wrong type of cleaner can damage your machine or leave behind residue that attracts dirt.
What should I do if my Hoover vacuum isn’t picking up dirty water?
Check if the dirty water tank is full and properly seated. Also, ensure the suction hose is not blocked and that the machine’s filters are clean. Sometimes, a slow backward pass helps the suction work more effectively.
How can I make my carpets dry faster after shampooing?
After the shampooing process, make extra backward passes without dispensing solution to extract as much water as possible. Open windows, use fans, or run your air conditioner to improve air circulation. Avoid placing furniture back on damp carpets.
Is it okay to leave the dirty water in the tank overnight?
Absolutely not. You should empty and rinse the dirty water tank immediately after each use. Leaving dirty water can lead to unpleasant odors and promote mold or mildew growth inside your machine.