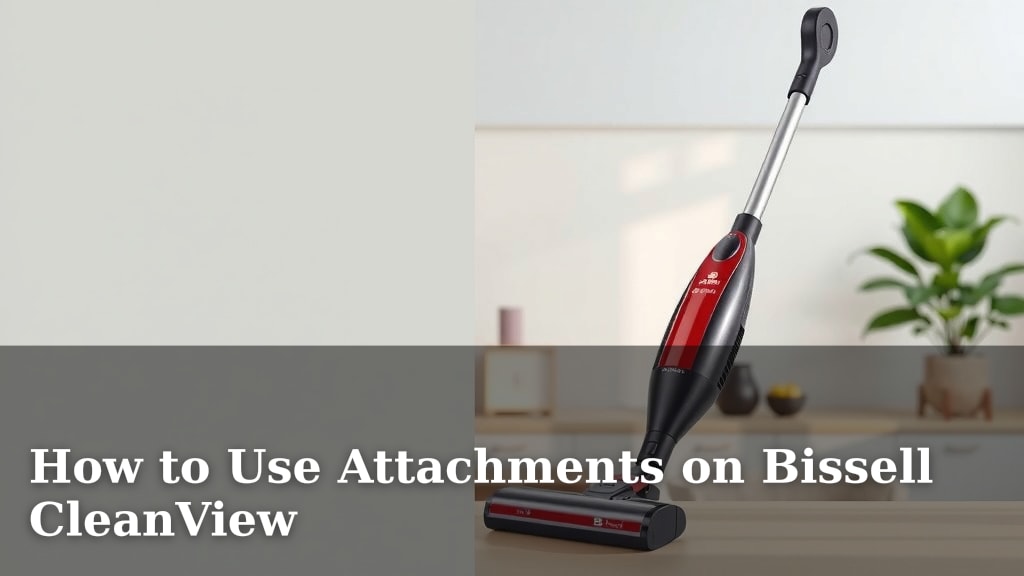
How to Use Attachments on Bissell CleanView
Attaching accessories to your Bissell CleanView vacuum makes cleaning easier and more effective. You can easily connect and switch between different attachments for various cleaning tasks. Simply align the attachment with the wand or hose and push until you hear a click. This ensures a secure fit for **optimal suction** and performance. Using the right attachment can help you tackle everything from **pet hair** to tight corners.
Your Bissell CleanView likely came with several useful attachments. These tools are designed to extend the reach and versatility of your vacuum. Many users find attachments like the crevice tool and dusting brush incredibly helpful. They help you get into **hard-to-reach areas** and clean delicate surfaces without damage. We found that proper attachment use significantly improves your cleaning efficiency.
- Connect attachments by aligning them with the hose or wand.
- Push until you hear a distinct click to confirm a secure connection.
- Use specific attachments for different cleaning needs, like crevices or furniture.
- Regularly check connections to ensure your vacuum operates at its best.
Let’s walk through exactly how to use your Bissell CleanView attachments step by step, so you can get the most out of your vacuuming.
Mastering Your Bissell CleanView Attachments
Your Bissell CleanView vacuum is a powerhouse for cleaning your home. But did you know its true potential often lies with its attachments? These handy tools can transform your vacuuming experience. They help you clean more efficiently. They also let you reach spots you might otherwise miss. We found that understanding how to use these accessories makes a huge difference.
Connecting Your Bissell CleanView Accessories
Attaching accessories to your Bissell CleanView is generally straightforward. Most models use a simple click-in system. This ensures a secure fit for optimal suction. You’ll want to make sure the connection is firm before you start cleaning.
The Hose Connection
Many Bissell CleanView vacuums come with a flexible hose. This hose is where most attachments connect. First, identify the end of the hose that is meant to connect to an attachment. It usually has a slightly wider opening or a specific shaped end. Next, take the attachment you wish to use. Look at the part of the attachment that will insert into the hose. Align these two parts carefully.
Gently push the attachment into the hose end. You should feel it slide in smoothly. Apply steady pressure until you hear a distinct “click.” This click is your signal that the attachment is securely locked in place. If you don’t hear a click, try wiggling it slightly and pushing again. A secure connection is vital for proper airflow and suction power.
Connecting Directly to the Wand
Some attachments, especially extension wands or specialized tools, might connect directly to the vacuum’s wand. The wand is the rigid pipe that extends from the vacuum. Similar to the hose connection, you’ll need to align the attachment with the end of the wand. The connection point on the wand often looks similar to the hose end.
Once aligned, push the attachment firmly onto the wand. Again, listen for that satisfying “click.” This confirms it’s locked and ready to go. If it feels loose, don’t proceed. It might not be properly seated, which can affect performance and even cause the attachment to detach during use.
When a Click Isn’t Heard
Occasionally, you might push an attachment in, but no click occurs. Don’t force it. Sometimes, a small piece of debris can obstruct the connection point. Check both the hose/wand end and the attachment for any blockages. A quick visual inspection and a wipe-down can often solve the issue. Make sure you’re using the correct attachment for your specific Bissell CleanView model, as some connections might be proprietary.
Understanding Your Common Bissell CleanView Attachments
Your Bissell CleanView likely came with a few key attachments. Each one serves a specific purpose to enhance your cleaning routine. Let’s look at some of the most common ones and how to use them effectively.
The Crevice Tool
This is a long, slim tool with a tapered end. Its design is perfect for reaching into tight spaces. Think about the gaps between couch cushions, along baseboards, or inside car interiors. You’ll connect this to your hose or extension wand.
When using the crevice tool, remember to angle it correctly. The narrow tip allows it to get deep into narrow openings. You’ll likely find it picks up dust bunnies, crumbs, and pet hair that normal floor cleaning misses. Many experts recommend the crevice tool for **detailed cleaning** tasks.
The Dusting Brush
The dusting brush usually features soft bristles. It’s designed for cleaning delicate surfaces without scratching. This includes things like lampshades, blinds, bookshelves, and even your car’s dashboard. Connect it to the hose or wand as usual.
Gently glide the brush over the surface. The bristles lift dust, and the vacuum suction pulls it away. For items like blinds, you might need to move the brush slowly. This ensures you capture all the settled dust. It’s a great tool for maintaining a **dust-free home**.
The Upholstery Tool
This attachment is often wider and flatter than the dusting brush. It might also have a fabric strip on its underside to help lift debris. It’s specifically designed for cleaning furniture and fabric surfaces.
Use the upholstery tool on your sofas, chairs, and car seats. Move it back and forth over the fabric. The wider head covers more surface area. This tool is particularly effective at removing **pet hair** and embedded dirt from fabric. Many pet owners find this attachment indispensable.
Tips for Maximizing Attachment Performance
Getting the most out of your Bissell CleanView attachments involves a few smart practices. Simple steps can ensure you get the best results every time you clean.
Ensure a Secure Connection Every Time
We’ve mentioned this, but it bears repeating. Always confirm that satisfying “click” when you attach any accessory. A loose connection means lost suction. It also means dust and debris might escape the vacuum bag or bin. Take a moment to double-check before you start vacuuming a new area. It’s a small step that has a big impact.
Match the Attachment to the Task
Don’t try to force one tool to do everything. Using the right attachment for the job saves you time and effort. For instance, using the crevice tool for large floor areas would be inefficient. Conversely, using the floor brush on a delicate lampshade could cause damage. Think about what you’re cleaning and choose the tool designed for it.
Clean Your Attachments Too!
Attachments can get clogged with dirt, hair, and debris. This reduces their effectiveness. After using them, especially the upholstery or dusting brush, give them a quick clean. Remove any tangled hair or large debris. You can often rinse them with water and let them air dry completely. This keeps them working like new. Regular cleaning helps maintain optimal suction (CDC).
Store Them Properly
Most Bissell vacuums have a way to store attachments on the unit itself. If yours does, use it! This keeps them organized and readily available. If not, find a dedicated spot for them. Keeping them together prevents loss and ensures you always know where to find the right tool when you need it.
A Quick Attachment Checklist
Here’s a quick rundown to ensure you’re using your attachments like a pro:
- Connect attachments firmly until you hear a click.
- Use the crevice tool for narrow, hard-to-reach spots.
- Employ the dusting brush for delicate surfaces and above-floor cleaning.
- Employ the upholstery tool for furniture and fabric cleaning.
- Check for and clear any debris from connection points before attaching.
- Store your attachments in a safe, accessible place when not in use.
Conclusion
You’ve now learned how simple it is to connect and use your Bissell CleanView attachments. By choosing the right tool for each job and ensuring a secure connection, you’ll make your cleaning tasks much more efficient. Remember to give your attachments a quick clean and store them properly. This keeps your vacuum performing at its best. Get ready to tackle every nook and cranny with confidence!
Frequently Asked Questions
What if an attachment doesn’t seem to fit my Bissell CleanView?
Ensure you are trying to connect the attachment to the correct part of the vacuum, like the hose or wand. Check that you are using an attachment designed for your specific Bissell CleanView model. Sometimes, a small obstruction in the connection port can prevent a proper fit.
How often should I clean my vacuum attachments?
It’s a good idea to clean your attachments regularly, especially after vacuuming up a lot of debris or pet hair. A quick wipe-down after each use can prevent buildup. For deeper cleaning, rinse them with water and allow them to air dry completely.
Can I use attachments from other vacuum brands with my Bissell CleanView?
Generally, it’s best to use attachments specifically made for your Bissell CleanView vacuum. While some might seem similar, connection sizes and designs can vary. Using incompatible attachments might result in a poor seal, reduced suction, or even damage to your vacuum or the attachment.
What’s the best way to store my Bissell CleanView attachments?
If your Bissell CleanView has onboard storage for attachments, use it! This keeps them organized and readily accessible. If not, designate a specific drawer or container for them. Keeping them together prevents loss and ensures you can find the right tool when you need it.
My vacuum’s suction seems weak when using an attachment. What could be wrong?
A weak suction when using an attachment is often due to a loose connection. Double-check that the attachment clicked securely into place. Also, inspect both the attachment and the hose/wand for any blockages that could restrict airflow. A dirty filter or full dustbin can also reduce overall suction.
![7 Best Canister Vacuum Under $200 [2026]](https://neatixo.com/wp-content/uploads/2026/05/7-best-canister-vacuum-under-200-2026-featured-768x432.jpg)