Kirby Vacuum: How to Put the Belt On Easily
Putting a new belt on your Kirby vacuum is actually quite simple! You’ll want to make sure you have the correct replacement belt and then follow a few straightforward steps to get your vacuum running smoothly again. It’s a quick fix that can make a big difference in cleaning power.
A worn-out or broken belt is often the culprit behind a Kirby vacuum that isn’t picking up dirt effectively. Many users find that replacing the belt is a DIY task that doesn’t require a service call. We’ve found that having a spare belt on hand can save you time and hassle in the long run.
- Unplug your vacuum first!
- Locate the brush roll.
- Remove the old belt if it’s still attached.
- Loop the new belt around the motor shaft and pulley.
- Stretch the belt over the brush roll.
Ready to get that belt swapped out? Let’s walk through exactly how to do it, step by step, so you can get back to a clean home in no time.
Getting Your Kirby Vacuum Belt Replaced With Ease
You’ve noticed your Kirby isn’t quite cutting it on the carpet lately. It might not be picking up dirt like it used to. Often, the simple fix is a worn-out belt. Replacing it yourself can save you time and money. We’ll guide you through each step, making sure your vacuum gets back to its powerful cleaning performance.
Why Your Kirby Needs a Working Belt
Think of the belt as the heart of your vacuum’s agitation system. It connects the motor to the brush roll. This connection is what makes the brush roll spin. When the belt is damaged, this spinning action is lost. Your vacuum then struggles to lift dirt from your carpets.
Signs You Need a New Belt
Several common signs point to a belt that needs replacing. The most obvious is a noticeable drop in cleaning power. You might see more dirt left behind after vacuuming. Sometimes, you might even hear a different sound from your vacuum. A high-pitched squealing noise can indicate a belt that’s slipping or about to break. In some cases, you might be able to see visible damage on the belt itself.
Visual Inspection Tips
If you’re unsure, a quick visual check is often all you need. You’ll want to get a good look at the belt. Is it frayed? Are there any nicks or tears? Sometimes, the belt can look stretched out. It might appear thinner than it should be. Any of these signs mean it’s time for a replacement.
The Importance of Using the Right Belt
It’s crucial to use the correct replacement belt for your specific Kirby model. Using the wrong belt can cause more harm than good. It might not fit properly. This can lead to slippage or damage to the motor or brush roll. Always check your vacuum’s manual or the Kirby website for the exact belt number needed.
Step-by-Step Guide to Replacing Your Kirby Vacuum Belt
Ready to swap out that old belt? It’s a straightforward process. We’ve broken it down into simple, manageable steps. You won’t need any special tools, just a little patience.
Preparation is Key
Before you begin, make sure your vacuum is unplugged. This is for your safety. You don’t want the vacuum to accidentally turn on while you’re working on it. Find a well-lit area where you have enough space to work comfortably. Having a small towel or mat to place the parts on can be helpful.
Gathering Your Supplies
You’ll need your new Kirby vacuum belt. It’s a good idea to have a few other things handy. A flathead screwdriver can sometimes be useful for prying off a stubborn brush roll housing. A small brush or cloth might help clean away any dust or debris. A flashlight can be handy if your workspace isn’t very bright.
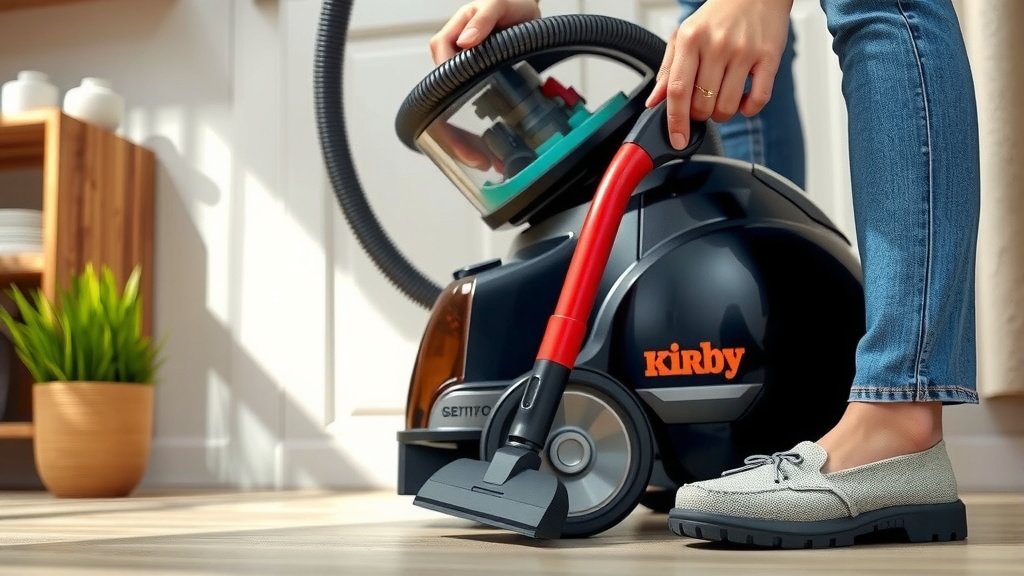
Accessing the Brush Roll and Old Belt
Most Kirby models require you to remove the bottom plate to access the brush roll. You’ll usually find screws holding this plate in place. Carefully unscrew them and set the plate aside. This exposes the brush roll and the belt.
Removing the Old Belt
Once the belt is visible, you’ll need to carefully remove the old one. If the belt is broken, you might find pieces of it. If it’s intact but worn, you can usually just lift it off the brush roll and the motor shaft. Sometimes, a worn belt can be stretched taut. You might need to gently work it off the pulley or the brush roll end.
Installing the New Belt
Now it’s time for the new belt. Start by looping the new belt around the motor shaft. This is the smaller spindle that the belt originally connected to. Then, gently work the other end of the belt onto the brush roll. You might need to stretch it a bit.
Stretching and Securing the Belt
To get the belt onto the brush roll, you’ll likely need to rotate the brush roll. This will help the belt slide into place. You want the belt to sit snugly. It shouldn’t be too tight that it strains the motor, but not so loose that it slips. As you rotate the brush roll, the belt should naturally move to its correct position around the roll. Many experts recommend ensuring the belt has a little give, but not enough to easily slip off (Cleveland Clinic).
Reassembling Your Kirby Vacuum
With the new belt in place and the brush roll spinning freely, it’s time to put everything back together. Reattach the bottom plate. Make sure all the screws are securely fastened. Double-check that the belt is still correctly positioned on both the motor shaft and the brush roll.
Testing Your Work
Plug your Kirby vacuum back in. Turn it on and listen carefully. Does it sound normal? Test it on a carpeted surface. Is the brush roll spinning with power? You should feel a significant difference in its ability to pick up dirt. If it sounds good and cleans well, congratulations! You’ve successfully replaced your Kirby vacuum belt.
Troubleshooting Common Issues
What if it’s not working quite right? Don’t worry, it happens. If you hear squealing, the belt might be too loose or misaligned. You may need to readjust it. If the brush roll still isn’t spinning, double-check that the belt is on the motor shaft correctly. Ensure the bottom plate is securely reattached. Sometimes, debris can get caught in the brush roll itself, preventing it from spinning.
Belt Replacement Checklist
- Unplug your Kirby vacuum.
- Remove the bottom plate.
- Gently remove the old belt.
- Loop the new belt around the motor shaft.
- Stretch the new belt onto the brush roll.
- Reattach the bottom plate and test.
Conclusion
You’ve learned that changing your Kirby vacuum belt is a manageable DIY task. It’s essential for restoring your vacuum’s cleaning power. By following our step-by-step guide, you can confidently tackle this yourself. Remember to always prioritize safety by unplugging the machine first. Having the correct belt and a little patience will get your Kirby back in top working order. Your next step is to grab the right belt for your model and give it a try!
Frequently Asked Questions
How often should I replace my Kirby vacuum belt?
Most manufacturers recommend inspecting your Kirby vacuum belt every 6-12 months. If you notice a decrease in cleaning performance or hear unusual noises, it’s time for a replacement sooner. Regular checks can prevent unexpected breakdowns.
Can I use a generic belt instead of a Kirby-brand belt?
While generic belts might seem like a cost-saving option, it’s best to use the specific belt designed for your Kirby model. The wrong belt can slip, fail to spin the brush roll effectively, or even damage other vacuum components.
My new belt seems too tight. Is that normal?
A new belt should feel snug but not overly strained. You might need to rotate the brush roll as you install it to help the belt settle. If it feels extremely tight and you have to force it, double-check that you have the correct belt model. Some tension is good, but too much can harm your motor.
What if my Kirby vacuum still doesn’t pick up dirt after changing the belt?
If the belt is new and properly installed, the issue might lie elsewhere. Check for clogs in the hose or vacuum head. Ensure the brush roll itself isn’t damaged or obstructed. If problems persist, it might be time to consult your vacuum’s manual or contact a service professional.
How do I know if my Kirby belt is broken or just worn out?
A broken belt will usually be in pieces or completely missing. A worn-out belt might appear stretched, frayed, or have visible nicks and tears. You’ll often notice a significant drop in suction power or hear a squealing sound as a warning sign before it breaks entirely.