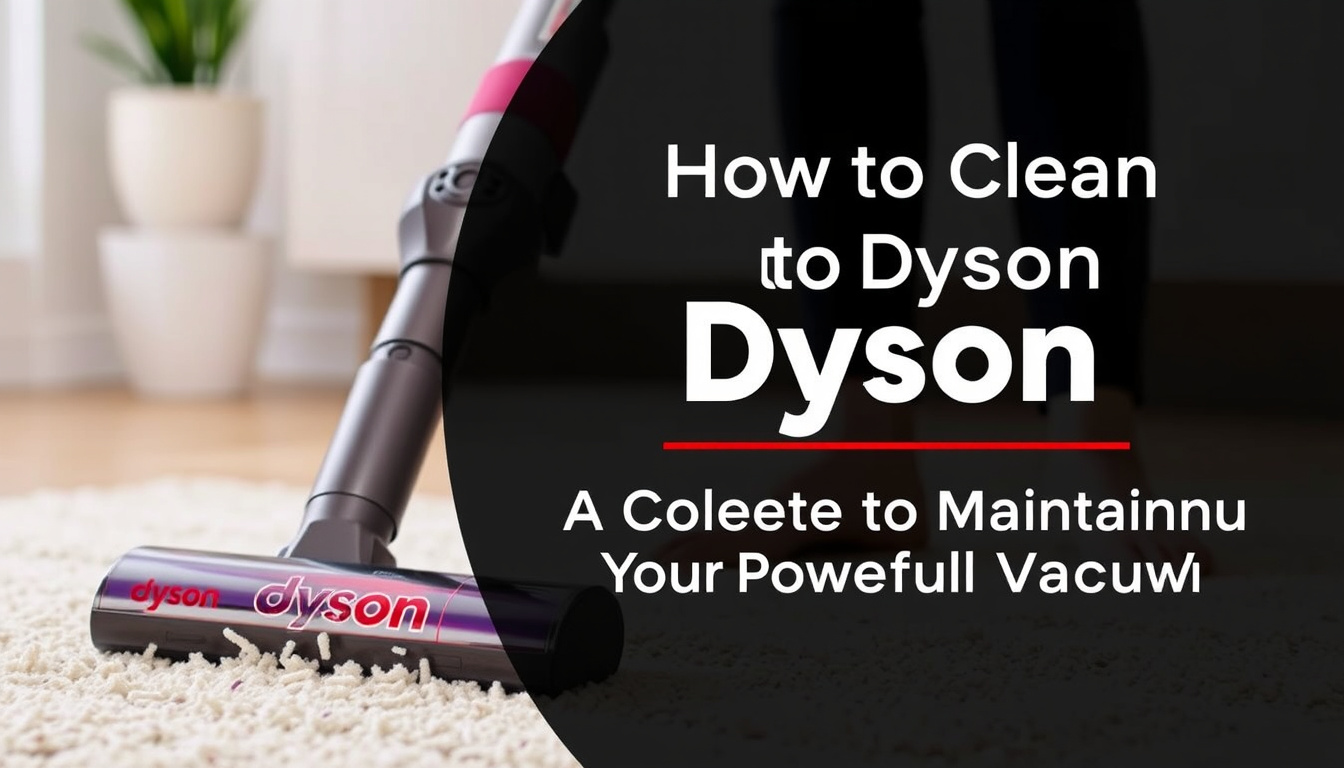
Why Regular Cleaning of Your Dyson Vacuum Really Matters
Let me be honest with you—if you’ve invested in a Dyson vacuum, you probably already know it’s one of the best cleaning machines money can buy. But here’s the thing: even the most powerful vacuum on the market needs proper care and maintenance to keep performing at its peak. Think of your Dyson like a high-performance sports car; without regular maintenance, it’ll lose its power and efficiency.
In this comprehensive guide, I’m going to walk you through everything you need to know about cleaning and maintaining your Dyson vacuum. Whether you own an upright model, a cordless stick vacuum, or a handheld unit, these maintenance tips will help you extend its lifespan and keep it running like new.
Why Regular Cleaning of Your Dyson Vacuum Really Matters
You might be wondering: why do I need to spend time cleaning a cleaning machine? Fair question! The answer is straightforward. When your Dyson’s filters get clogged with dust and debris, suction power drops dramatically. It’s like trying to breathe through a straw that’s partially blocked—you can still breathe, but it requires way more effort.
Regular cleaning ensures your vacuum maintains its legendary suction power and operates efficiently. Plus, a well-maintained vacuum lasts significantly longer, which means you’re protecting your investment. I’ve seen people who skip maintenance end up replacing their Dysons in just a few years, while those who take care of theirs enjoy a decade or more of reliable performance.
The Impact on Suction Power
Here’s what happens when you neglect your Dyson: filters accumulate dust particles, the motor works harder to push air through, energy consumption increases, and suction power decreases. Before you know it, you’re pushing your vacuum back and forth over the same spot three times just to pick up a simple pile of crumbs.
Extending Your Vacuum’s Lifespan
Think of maintenance as preventative medicine for your Dyson. By cleaning components regularly, you’re preventing premature wear on the motor, brushes, and internal pathways. This translates directly into more years of faithful service from your machine.
Essential Tools and Materials You’ll Need
Before you start, gather these items to make the cleaning process smooth and efficient:
- A small brush or old toothbrush for scrubbing
- Warm water and mild dish soap
- A clean cloth or paper towels
- A thin object like a straightened paperclip for unclogging pathways
- A flat surface where you can work comfortably
- Optional: vacuum cleaner attachment for cleaning the vacuum itself
Most of these items you probably already have at home, so you don’t need to buy anything special to maintain your Dyson properly.
Step-by-Step Guide to Cleaning Your Dyson Filter System
The filter is arguably the most important component to keep clean. Most Dyson owners don’t realize how often their filters need attention, and this is where most problems originate.
Locating Your Filter
Depending on your Dyson model, the filter is typically located either on top of the machine or inside the dustbin area. Check your user manual if you’re unsure, but most filters are easily accessible and can be removed by twisting or unclipping them.
Removing the Filter Properly
Turn off your vacuum completely before touching any internal components. Wait a moment if you’ve been using it, as the motor might still be spinning. Gently twist the filter counterclockwise or unclip it according to your model’s design. Remove it carefully and take it to a sink or outdoor area.
Tapping Out Loose Debris
Hold the filter upside down over a trash can and tap it gently against the sides. You’ll be amazed at how much dust and debris falls out. Don’t be aggressive—these filters are delicate and rough handling can damage them. Think of it like tapping an egg on the counter; you need just enough force to get the job done, not so much that you break something important.
Washing the Filter
Rinse the filter under lukewarm running water. Let the water run through the filter’s pleats to wash away trapped particles. For stubborn buildup, use a soft brush and gently scrub in a downward motion. You can use a tiny bit of mild dish soap if needed, but always rinse thoroughly afterward until the water runs completely clear.
Drying the Filter Completely
This step is crucial: your filter must be completely dry before reinstalling it. Wet filters can damage your motor and cause operational issues. I recommend standing the filter upright in a warm area for at least 4-6 hours, or preferably overnight. Some people place them near a window on a sunny day, which speeds up the drying process.
Emptying and Washing the Dustbin
Many people think just emptying the bin is enough, but there’s more to it than that.
Emptying the Bin Regularly
Empty your dustbin when it reaches the maximum fill line, not when it’s overflowing. A full bin reduces suction efficiency just as much as a clogged filter does. Some people empty theirs after each use, especially if they have pets or a large household. This is a good practice that takes just thirty seconds.
Washing the Dustbin
Once a week or whenever you notice dust sticking to the sides, remove the dustbin and wash it. Most Dyson bins are detachable and can be rinsed with warm water. Use a damp cloth to wipe the interior walls, removing any dust film that accumulates. Pay special attention to the bottom corners where debris tends to settle.
Cleaning the Outlet and Entrance
Look where the bin connects to the vacuum. Dust can accumulate in these areas and prevent proper sealing. Wipe these connection points with a dry cloth to ensure a tight fit when you reattach the bin.
Maintaining the Brush Bar and Rollers
The brush bar is where your Dyson’s cleaning power comes from, but it’s also where most tangled hair and fibers accumulate.
Checking for Tangled Hair and Fibers
Look at your brush bar regularly—you might be shocked at how much hair winds around it, especially if you have pets or long hair in your household. This tangling reduces the brush’s effectiveness and makes the motor work harder. Once a week is a good schedule for checking.
Removing Tangled Material
Turn off and unplug your vacuum. Using scissors or a seam ripper, carefully cut away any hair wrapped around the brush bar. Work slowly and deliberately to avoid cutting the bristles themselves. It might take a few minutes, but this simple task can restore significant cleaning power to your machine.
Cleaning the Brush Bristles
Once you’ve removed the tangled hair, use a small brush or old toothbrush to clean between the bristles. Work in a direction that moves debris toward the center of the brush where you can easily remove it. This removes accumulated dust and restore the bristles to their original condition.
Inspecting for Wear
While you’re working with the brush bar, check for signs of excessive wear. If the bristles are significantly flattened or broken, it might be time to replace the brush bar. Dyson sells replacement parts that are relatively affordable and easy to install.
Cleaning the Air Pathway and Motor Head
Clogs can develop in the pathways connecting different components of your vacuum, reducing efficiency significantly.
Locating Potential Blockages
Remove the dustbin and look up into the opening where it connects. Shine a flashlight into the pathway and look for any visible blockages. Sometimes you can see dust buildup or small objects that got sucked up and are now stuck.
Clearing Blockages
If you spot a clog, use a straightened paperclip or pipe cleaner to carefully dislodge it. Work gently to avoid damaging internal components. Once you’ve loosened the blockage, hold the vacuum upside down over a trash can to let the debris fall out.
Wiping the Motor Head
The motor head—the part where the dustbin connects—can accumulate dust and should be wiped clean regularly. Use a damp cloth to gently wipe this area. Make sure everything is completely dry before reattaching the bin.
Caring for Handheld Attachments and Accessories
If you own a Dyson handheld or a model with multiple attachments, these components need attention too.
Cleaning Brush Attachments
Just like the main brush bar, the brushes on various attachments can tangle with hair and accumulate dust. Remove tangled material and wash these attachments weekly if you use them frequently.
Maintaining Crevice Tools
Crevice tools can develop blockages easily since they’re narrow. Run warm water through them regularly and use a straightened wire to clear any stubborn obstructions.
Storing Attachments Properly
Keep all attachments in a dry location. Some Dyson models come with storage solutions, but if yours doesn’t, consider keeping them in a dedicated bin or caddy. Proper storage prevents damage and makes them easy to find when you need them.
Understanding Your Dyson’s Maintenance Schedule
Not all maintenance tasks need to happen at the same frequency. Here’s a practical schedule to follow:
Daily or After Each Use
- Empty the dustbin when full
- Inspect for obvious blockages
- Remove any large tangled hair from the brush bar
Weekly
- Thoroughly clean the brush bar
- Wipe the dustbin interior
- Check and clean crevice tool attachments
- Inspect the filter for heavy dust accumulation
Monthly
- Wash the filter thoroughly with water
- Clean the air pathway and motor head
- Check all attachments for damage
- Inspect the brush bar for wear
Every Three to Six Months
- Deep clean the entire vacuum
- Replace the filter if it shows signs of damage
- Consider professional servicing if available
Troubleshooting Common Dyson Problems
Losing Suction Power
If your Dyson isn’t picking up dirt like it used to, the problem is almost always one of these: a full dustbin, a clogged filter, tangled hair on the brush bar, or a blockage in the air pathway. Start by checking these components in that order.
Strange Noises
Unusual sounds often indicate a blockage or something stuck in the motor head. Carefully inspect these areas and remove any obstructions you find.
Filter Issues
If your filter doesn’t seem to be getting clean no matter how much you wash it, it might be time to replace it. Dyson filters typically last 6-12 months depending on usage. Look for visible damage or discoloration that won’t wash away.
Brush Bar Not Spinning
Excessive tangled hair can jam the brush bar completely. Remove all hair, and if the brush still doesn’t spin after thorough cleaning, you may need to replace the brush bar assembly.
Best Practices for Long-Term Dyson Maintenance
Beyond the regular cleaning tasks, these practices will help your Dyson serve you well for years to come:
Store It Properly
Keep your vacuum in a dry location away from extreme temperatures. Don’t store it with the dustbin attached if it hasn’t been completely emptied, as this can cause odors and mold growth.
Use It Correctly
Don’t vacuum up large objects, wet materials, or substances like drywall dust that can damage filters. These materials should be picked up by hand or with a different tool first.
Charge the Battery Properly
If you have a cordless Dyson, charge the battery fully before each use and avoid letting it completely die regularly. This extends battery lifespan significantly.
Replace Parts When Needed
Don’t try to keep using a damaged brush bar or filter beyond its useful life. Dyson replacement parts are reasonably priced and installing them takes just minutes.
Conclusion
Cleaning and maintaining your Dyson vacuum isn’t complicated, and it doesn’t require expensive products or specialized knowledge. By following the steps I’ve outlined—regularly emptying the bin, washing the filter, removing tangled hair from the brush bar, and clearing blockages—you’ll keep your vacuum performing at peak efficiency for many years.
Remember, the key to a long-lasting Dyson is consistency. These aren’t one-time tasks; they’re part of regular ownership. Spend fifteen minutes each week on basic maintenance, and you’ll avoid expensive repairs or premature replacement. Your Dyson will reward you with the powerful, reliable cleaning performance you paid for in the first place. Now get out there and keep that vacuum pristine!
Frequently Asked Questions
How often should I replace my Dyson filter?
Under normal household conditions, Dyson filters typically last between 6 to 12 months before they need replacement. However, this varies based on usage frequency and your home environment. If you have pets, a large family, or use your vacuum daily, you might need to replace your filter every 6 months. Regular washing extends filter life, but once filters become visibly damaged, discolored, or no longer clean properly even after washing, it’s time for a replacement. It’s worth noting that some Dyson models have multiple filters, and each one may wear at different rates.
Can I wash my Dyson filter with soap?
Yes, you can use a tiny amount of mild dish soap when washing your filter, but it’s not necessary for routine cleaning. Water alone is usually sufficient for weekly maintenance. If you do use soap, ensure you rinse the filter extremely thoroughly


![7 Best Canister Vacuum With Attachments [2026]](https://neatixo.com/wp-content/uploads/2026/05/7-best-canister-vacuum-with-attachments-2026-featured-768x432.jpg)